Unlock the Secrets of Hydration: How to Set Up Primo Water Dispenser
Jane J. is a passionate home cook and the creator of Greenwaykitchen.com, a blog dedicated to sharing her love for food through delicious recipes, helpful cooking tips, and insightful food knowledge. Her mission is to empower home cooks of all levels to create delicious and satisfying meals with ease.
- There is usually a power button on the front of the dispenser.
- This is typically a button or dial on the front of the dispenser.
- Whether you’re quenching your thirst after a workout, preparing a cup of tea, or simply enjoying a refreshing glass of water, your Primo dispenser will be your reliable companion.
Are you tired of lugging heavy water bottles? Do you crave the convenience of having fresh, filtered water on tap? Then, a Primo water dispenser is your perfect solution. But before you can start enjoying its benefits, you need to know how to set it up. This comprehensive guide will walk you through the entire process, from unboxing to dispensing your first glass of purified water.
In This Article
- Unboxing and Initial Setup
- Connecting the Dispenser to Power
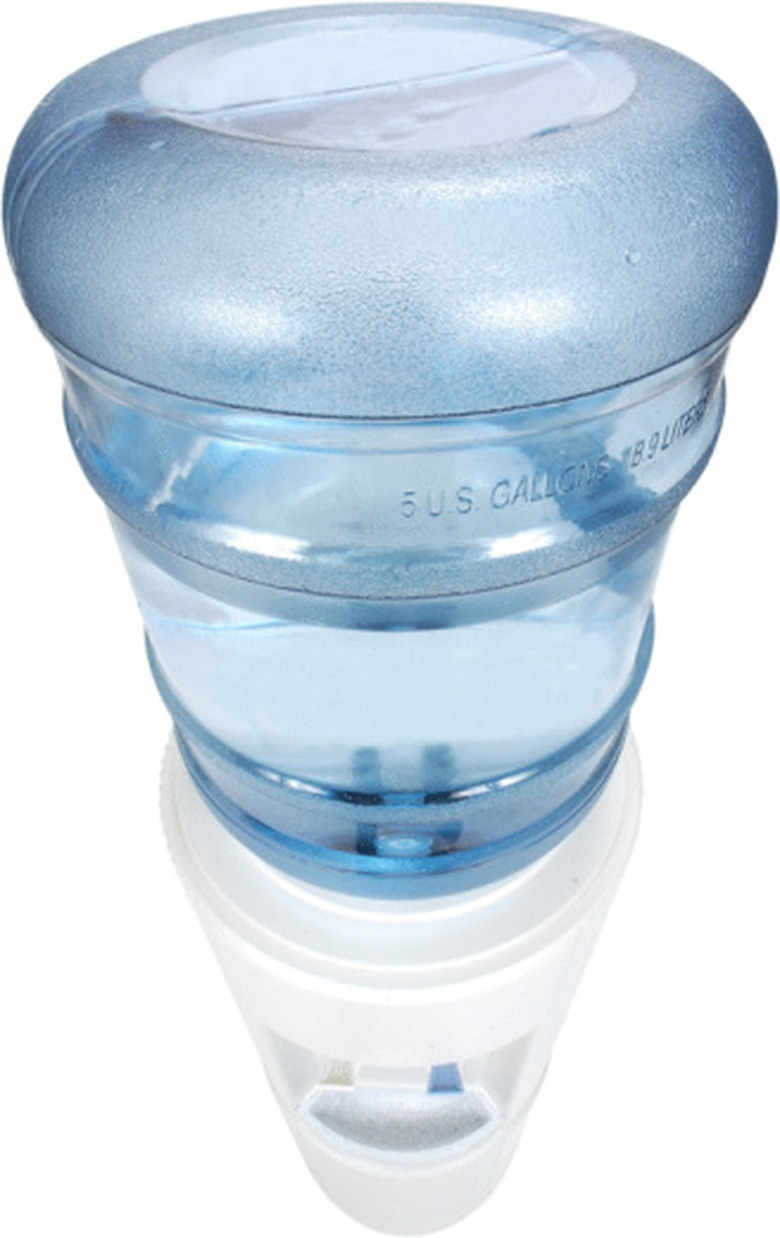
- Installing the Water Bottle
- Setting the Water Temperature
- Running the First Cycle
Unboxing and Initial Setup
1. Gather your supplies: Before you even open the box, make sure you have everything you need. This includes a Phillips head screwdriver, a clean cloth, and a Primo water bottle.
2. Unpack the dispenser: Carefully remove the dispenser from the box and set it on a flat, stable surface.
3. Remove packaging materials: Take out all the packing materials and dispose of them properly.
4. Inspect for damage: Check the dispenser for any signs of damage during shipping. If you find any, contact Primo customer support immediately.
Connecting the Dispenser to Power
1. Locate the power cord: The power cord is usually attached to the back or bottom of the dispenser.
2. Plug it in: Insert the power cord into a standard electrical outlet.
3. Turn on the dispenser: There is usually a power button on the front of the dispenser. Press it to turn it on.
Installing the Water Bottle
1. Locate the bottle holder: This is usually on the top of the dispenser.
2. Remove the cap: Unscrew the cap from your Primo water bottle.
3. Insert the bottle: Carefully place the bottle into the holder, ensuring it is securely in place.
4. Push down on the bottle: Press down firmly on the bottle to ensure it is properly seated.
Setting the Water Temperature
1. Locate the temperature control: This is typically a button or dial on the front of the dispenser.
2. Choose your desired temperature: Most Primo dispensers offer multiple temperature settings, including hot, cold, and room temperature.
3. Adjust the temperature: Use the control to set your desired temperature.
Running the First Cycle
1. Press the “Purge” button: This button is usually located on the front of the dispenser.
2. Wait for the cycle to complete: This may take a few minutes, depending on the model.
3. Discard the water: Once the purge cycle is complete, discard the first few glasses of water. This will help to flush out any residual air or impurities in the system.
Enjoying Your Filtered Water
1. Choose your desired temperature: Select the hot, cold, or room temperature setting.
2. Press the dispensing button: This button is usually located on the front of the dispenser.
3. Fill your glass: Enjoy your fresh, filtered water!
Maintaining Your Primo Water Dispenser
1. Regularly clean the dispenser: Consult your owner’s manual for specific cleaning instructions. However, most models require regular cleaning of the drip tray, water tank, and dispensing nozzle.
2. Change the water bottle: Replace the water bottle when it is empty.
3. Check for leaks: Regularly inspect the dispenser for any signs of leaks.
4. Contact Primo customer support: If you experience any issues with your dispenser, contact Primo customer support for assistance.
Beyond the Basics: Advanced Features
Some Primo water dispensers offer advanced features that enhance your water experience.
1. Child Safety Lock: This feature prevents accidental hot water dispensing, ensuring the safety of children.
2. Energy-Saving Mode: This mode automatically reduces energy consumption when the dispenser is not in use.
3. Built-in Filter: Some models have a built-in filter that further purifies the water, removing impurities and improving its taste.
The Final Sip: Embracing Convenience and Purity
Setting up your Primo water dispenser is a simple and straightforward process. Once you’ve completed the steps, you’ll be rewarded with the convenience of having clean, filtered water on demand. Whether you’re quenching your thirst after a workout, preparing a cup of tea, or simply enjoying a refreshing glass of water, your Primo dispenser will be your reliable companion.
Basics You Wanted To Know
1. What type of water bottle do I need for my Primo dispenser?
You need to use Primo water bottles, which are specifically designed for their dispensers. These bottles are available in various sizes and are refillable at participating retail locations.
2. How often should I clean my Primo water dispenser?
The frequency of cleaning depends on your usage. However, it is generally recommended to clean the dispenser at least once a month.
3. How do I know when to change the water filter?
Some Primo dispensers have an indicator light that signals when the filter needs to be replaced. Others may have a timer that indicates the recommended filter change interval.
4. Can I use tap water in my Primo dispenser?
No, Primo water dispensers are designed to use Primo water bottles. Using tap water can damage the dispenser and void the warranty.
5. What is the warranty on a Primo water dispenser?
The warranty period varies depending on the model. Check your owner’s manual or the Primo website for specific details.
How To Set The Temperature On A Primo Water Dispenser
The hot water tap on Primo water dispensers is set at the factory and cannot be adjusted.
Primo water dispensers are a great way to get clean, clear drinking water without the waste of bottled water. Primo dispensers use 3- or 5-gallon jugs of purified water. They can provide hot or cold water, depending on the model. Adjusting the temperature of the cold water from a Primo dispenser is easy, and doesn’t require any tools.
Step 1
Move the Primo water dispenser away from the wall, being careful not to tip or spill the water bottle.
Step 2
Locate the flat, brass-colored screw on the back of the water dispenser.
Step 3
Turn the screw slightly clockwise for colder water or counterclockwise for warmer water. Wait one hour for the water temperature to stabilize.
Step 4
Check the temperature of the water. Continue adjusting the knob, as necessary, until the desired temperature is reached.
Step 5
Slide the Primo water dispenser back into its original position.
https://greenwaykitchen.com/how-to-set-up-primo-water-dispenser/https://www.hunker.com/13408241/how-to-set-the-temperature-on-a-primo-water-dispenser/